
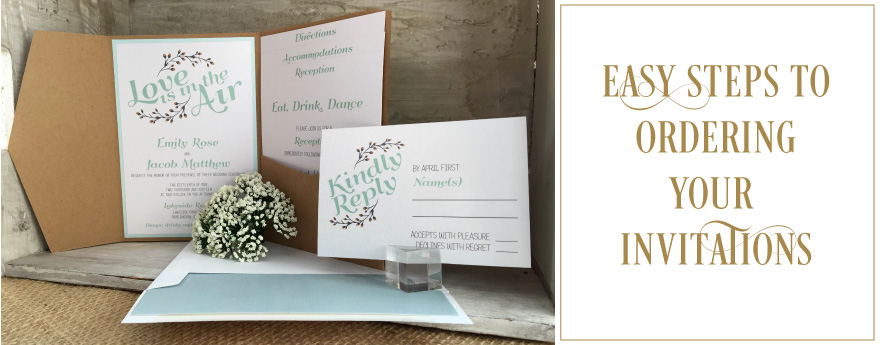
How to order wedding invitations
Once you're ready with your wedding or event venue and date, invitation list, and any other details you'd like to communicate to your guests (e.g. hotel accommodations), you're ready to get started with ordering your invitations! By following the 5 steps below, you will be able to place your online order easily. Questions? Click the "Live Help" button at the top of the page to do a live chat with us.
STEP 1
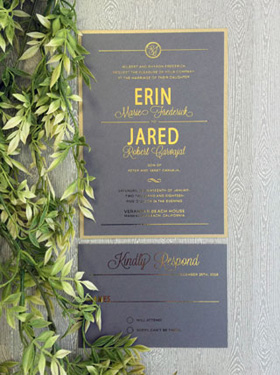
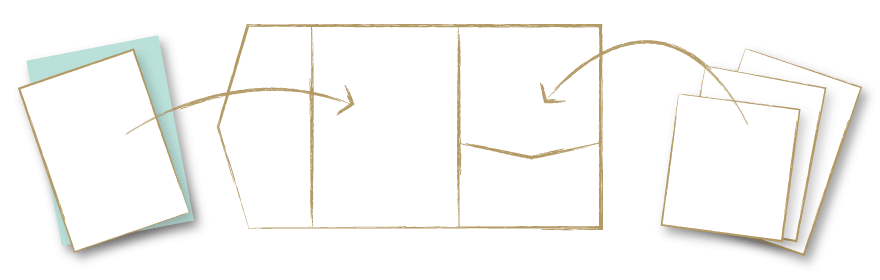
Click on the "Get Started" button in this section to personalize your invitation, choose your mat, envelope liner, and envelope addressing options in this step. Here, you will select your quantity of invitations based on your invitation list size.
You have the option to die-cut your invitation so that it's shaped other than the standard rectangle or square paper shape (e.g. shield shape). You also have the option to select a printed proof.
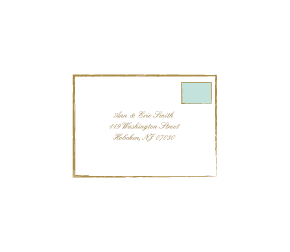
If you select return address envelope printing, we assume your mailing address is your shipping address. If not, type in the "Comments" box your return address. If you also select recipient addressing, upon receipt of your order, we will email you the Excel template to be used to send us the invitation list. You will receive a digital proof of the envelopes for your approval before printing.

PERSONALIZE YOUR INVITATION

CHOOSE YOUR MAT
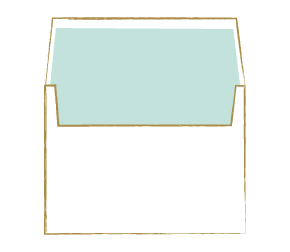
CHOOSE YOUR LINER
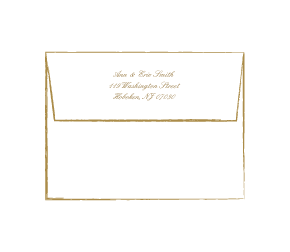
ADDRESS YOUR INVITATION ENVELOPES
STEP 2
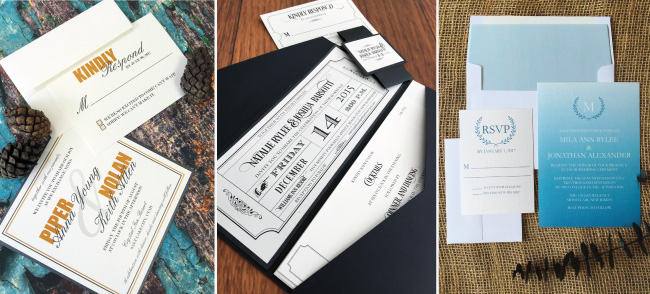
Click on the "Get Started" button in this section to personalize your response card and select envelope printing with your mailing address. We assume your mailing address is your shipping address. If you wish for a different mailing address to be printed on your envelope, type in the "Comments" box your mailing address where you'd like to receive your guest responses.
You will also choose your paper stock, quantity and printed proof options in this step.

PERSONALIZE YOUR RESPONSE CARD
ADDRESS YOUR RESPONSE CARD ENVELOPES
STEP 3
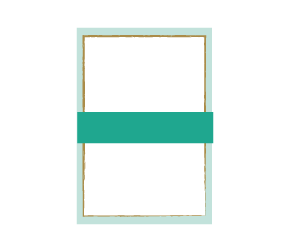
Have additional information for your guests (e.g. hotel accommodations, rehearsal dinner information, fun places to visit in the area, reception location and directions)? Click on the "Get Started" button in this section to add and personalize your insert cards. If you are not choosing a pocket to house your insert cards, choose a belly band and add a name card to neatly tie the pieces together.
If you are placing these insert cards in a pocket envelope, select "Yes" for "Size for Pocket Envelopes" as we have to trim these cards down a bit smaller to fit inside the pocket. No need for a belly band in this insert card section; you will select a belly band for your pocket in Step 4.
You will upload your Word document with your verbiage on this webpage. A digital proof will be sent to you for approval before printing. You also have the option to select a printed proof.

SELECT YOUR NUMBER OF INSERT CARDS
CHOOSE YOUR BELLY BAND
CHOOSE YOUR NAME CARD
STEP 4
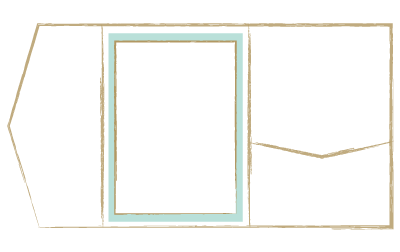
If you have insert cards, the pocket envelopes are a neat and impressive way to present all of the useful information to your guests. Petal envelopes are a pretty way of presenting your invitation; this option does not have pockets for insert cards. Click on the "Get Started" button to begin this step.
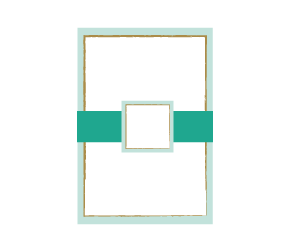
Belly bands should be selected if you choose pocket envelopes as the envelope flaps do not stay closed on their own when the pocket is filled with insert cards. You also have the creative option to add a personalized name card to hide the seal of the belly band.
CHOOSE YOUR POCKET
STEP 5
The last step is assembly. You can select to assemble some parts of your invitation or none of it. There are up to 7 steps in the assembly process. If you select option A (glue invitation to mat), B (glue invite to pocket), D (glue name card to mat) and E (glue name card to belly band), that counts as 4 steps in the "Number of Assembly Steps", for example. Click on the "Get Started" button to complete your order!
Upon receipt of your completed online order, you will be added to the queue for a designer to be in touch with you about your order. Digital proofs are always provided to you in advance for approval before printing begins.
CHOOSE YOUR ASSEMBLY OPTIONS
SPECIAL OFFERS
Click to see our current monthly special offers and save!
STILL NEED HELP?
Too busy to order online or prefer to create a custom-designed invitation collection? Schedule an appointment with a designer and we can help you through all the steps by taking your order by phone or in person and providing you a quote.